Calm Vacuum Training for Dogs & Cats: Reduce Cleaning Fear
Helping Pets Handle Vacuum Stress: Calm Training Routines for Dogs and Cats
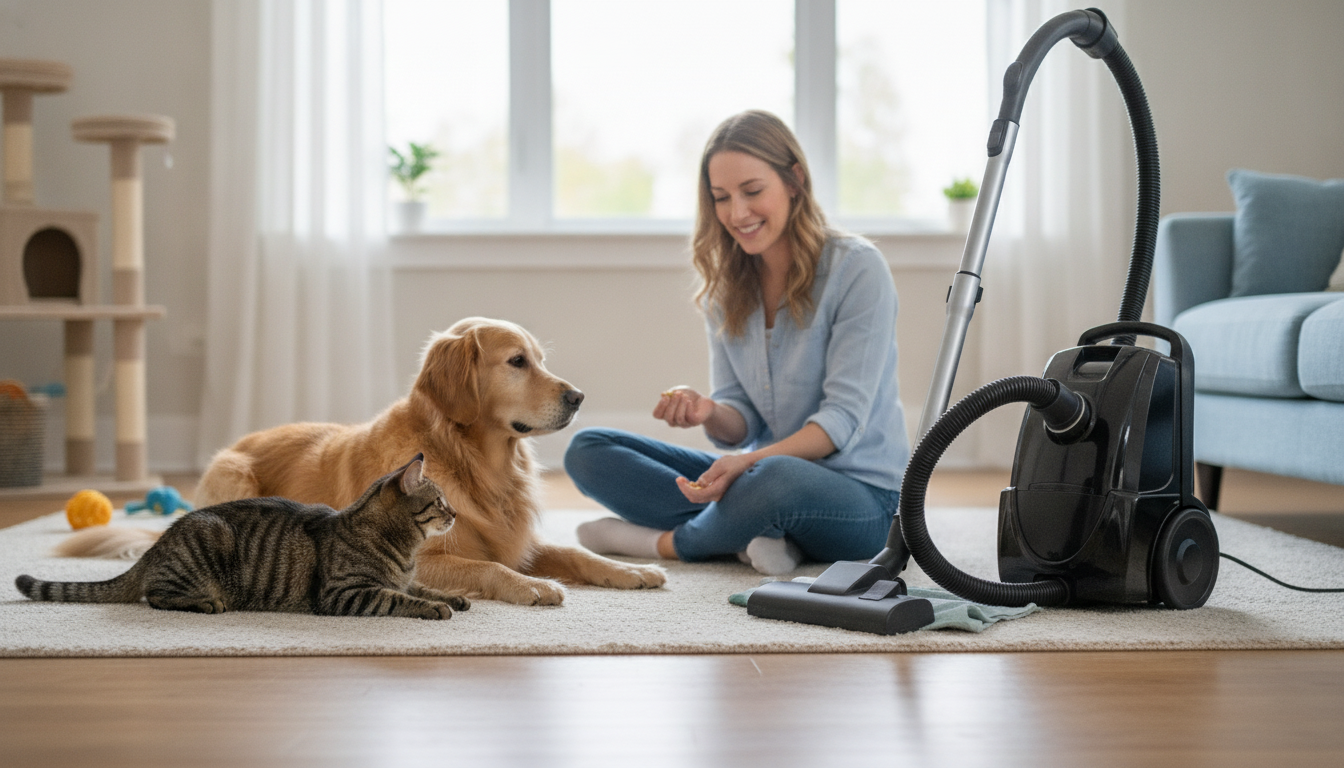
Some pets react to vacuums like they’re facing a threat: bolting, barking, hiding, swatting, trembling, or guarding territory. The noise, vibration, unpredictable movement, and changes in airflow can overload sensitive animals. With a gradual plan that pairs safety, predictable routines, and rewards, most pets can learn to stay calmer—or at least cope without panic—during cleaning days.
Why vacuums feel scary to pets
To a dog or cat, a vacuum can combine several “big scary” triggers at once:
- Sound profile: loud, high-frequency noise and sudden shifts when the vacuum hits different surfaces.
- Vibration and movement: rolling toward the pet can look like an approaching “creature,” especially to cats.
- Airflow and scent: blowing air and stirred-up dust can be irritating; new smells from bags/filters can be startling.
- Past learning: if a pet panicked once and escaped under a bed, hiding becomes the default coping strategy.
- Temperament and age: puppies/kittens in sensitive periods and anxious rescues may need slower pacing.
For broader behavior context and training fundamentals, reputable references include the ASPCA’s dog behavior and training resources and International Cat Care’s guidance on feline stress.
Set up a calm-cleaning environment first
Before training even starts, lower the “difficulty level” on cleaning day so your pet isn’t getting overwhelmed every week.
- Create a safe zone: a quiet room, covered crate, or cat tree area stocked with water, bedding, and a long-lasting chew or food puzzle.
- Block access to the vacuum path: use baby gates or close doors so the vacuum never “chases” the pet.
- Reduce sudden triggers: start the vacuum in another room; avoid bumping furniture and sudden direction changes near the pet.
- Add soothing background sound: a fan, white noise, or calm music can soften sharp peaks in vacuum noise.
- For cats: provide vertical escape routes (shelves/perches) so hiding isn’t the only option.
If your pet’s reactions seem extreme or out of character, it’s also reasonable to check general pet wellness resources like the American Veterinary Medical Association (AVMA) pet owner information and consider a veterinary visit.
A step-by-step desensitization plan (short sessions, steady progress)
Goal: change the vacuum from “threat” to “predictable object” by pairing it with rewards at a comfortable distance. Think of this as teaching safety and choice, not “toughing it out.”
Step 1 (vacuum off)
Place the vacuum in a room. Reward calm looks and voluntary sniffs. End the session while your pet is still relaxed.
Step 2 (movement off)
Roll the vacuum a few inches, then reward. Repeat with tiny, slow movements so your pet can process what’s happening.
Step 3 (sound at a distance)
Turn it on briefly in another room. Reward calm behavior. Keep the sound exposure very short—one to three seconds is enough at first.
Step 4 (sound closer)
Over days, reduce distance gradually. If you see stress signals (panting, tucked tail, flattened ears, dilated pupils, crouching, freezing), increase distance again and return to an easier step.
Step 5 (real-life cleaning)
Vacuum for 10–30 seconds, pause to reward (or scatter treats), then continue. Frequent mini-breaks help the vacuum feel less relentless.
- Keep sessions short: 2–5 minutes is often better than one long session.
- Avoid restraint: forcing proximity can increase fear and slow progress.
| Day Range | Vacuum Setup | Pet Distance | Reward Plan | Success Signal |
|---|---|---|---|---|
| Days 1–2 | Vacuum visible, OFF | Across the room | Treats for looking/approaching | Loose body, normal breathing |
| Days 3–4 | Vacuum rolls a few inches, OFF | Across the room | Treat after each small movement | Chooses to stay in room |
| Days 5–7 | Vacuum ON in another room for 1–3 sec | Behind a gate/doorway | High-value treats during sound | Ears recover quickly, no hiding |
| Days 8–10 | Vacuum ON nearby for 3–10 sec | Same room, far corner | Food scatter or lick mat | Can eat during vacuum |
| Days 11–14 | Short real vacuuming passes | Comfortable “station” spot | Intermittent treats + breaks | Stays settled or disengages calmly |
Training skills that make vacuum time easier
Common mistakes that increase fear
When stress is severe: getting extra support
A ready-to-follow guide for calmer cleaning days
If you want a structured routine with pacing tips, reward ideas, and troubleshooting for barking, hiding, or chasing, explore Helping Pets Handle Vacuum Stress. It’s designed to support brief daily sessions, a consistent safe zone, and simple progress tracking so setbacks are easier to manage.
- A Guide to Healing from Career Burnout – How to Heal from Career Burnout eBook
- Daily Affirmations for Abundant Wealth | Audio Course
FAQ
How long does it take to desensitize a pet to the vacuum?
Many pets improve in days to a few weeks, but the timeline depends on temperament, past experiences, and how consistent the short sessions are. If stress shows up, backing up a step and moving slower usually speeds progress overall.
Should treats be given while the vacuum is running?
Yes—if your pet can still eat, treats (or a lick mat) during the sound help change the emotional response from worry to expectation of something good. If your pet refuses food, increase distance or lower the intensity until eating resumes.
What if my pet tries to attack the vacuum?
Prioritize safety with barriers, a separate room, or a leash if appropriate, then redirect to a mat cue or scatter feeding. Restart training at easier steps (vacuum off and farther away), and seek professional help if lunging or aggressive behavior escalates.


Leave a comment